Sitecore MVC for Front-end developers
Part 4: Header
Header
As the title suggests, this post is about the header of the site. That is the main menu and logo shown below.

Common Mistakes
I see two common mistakes when people build headers in Sitecore solutions:
- Complex template with many fields representing all text and links of the header. Single rendering for all header markup. Or worse still, header markup placed on the layout.
- Componentized header. Duplicated presentation details on the standard values of each page template.
Solution: Composite Components
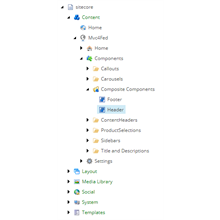
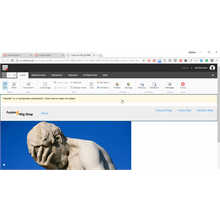
The answer to these problems is to use Composite Components, a module developed by Chris van de Steeg. It allows you to create composite components; groups of renderings with datasources assigned. You edit composite components in the same way you edit a page in the Experience Editor. You can then re-use these throughout your site.
I added this module to the Foundation layer of the solution. After installation, I moved the different items into the relevant Helix folders.
Composite Components as seen in the Content Editor:
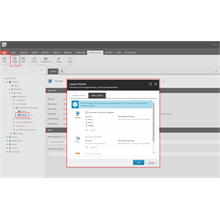
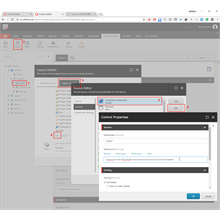
Composite Components edited in the Experience Editor:
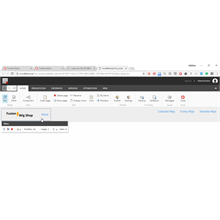
Other alternatives to Composite Components are Sitecore Experience Accelerator and BrainJocks SCORE.
Header Rendering
The outer structure for the site's header is in Header.cshtml which contains left and right placeholders. This lives in the Common project within the Project layer.
<div class="top-bar">
    <div class="top-bar-left">
        @Html.Sitecore().Placeholder("Header-Left")
    </div>
    <div class="top-bar-right">
        @Html.Sitecore().Placeholder("Header-Right")
    </div>
</div>
What's next?
Thanks for reading and stay-tuned for the next article in the series where I talk about the header structure and components.
- Introduction
- The Layout
- MetaData
- Header (this page)
- Navigation
- Section Header
- Content
- Product Details
- Product/Article List
- Sidebar Widget
- Footer
