Sitecore MVC Component Development Checklist
When developing presentation components in Sitecore, we have a tendency as developers, to assemble templates, renderings and items needed to make a component work, forgetting that users will often be adding the component anew to a page. A few missed steps by a developer can cause a lot of confusion for editors and make the editing process very cumbersome.
This is a simple check list to follow to ensure content editor happiness.
Component Design Decision
Establish if the content for a component should be:
- shared between multiple pages
- part of a page
- a sub-item of a page
Rendering - cshtml
- Ensure that no content on a component (cshtml or C# code) is hard-coded.
- Make sure all content can be edited in the experience editor by using
@Html.Sitecore().Field("FieldName"). - Don't use
@item["FieldName"]to output field values and definitely don't use@item.Fields["FieldName"]which can throw an exception if the field does not exist on the item. - If you really want to make a field non-editable in the experience editor use
@Html.Sitecore().Field("FieldName", new { DisableWebedit="true"})
Rendering - C# Code
Make your components robust. You cannot guarantee that users will:
- set the datasource
- set the datasource to the correct type of item
- correctly set all the fields of the datasource
For these reasons, your component should fail gracefully in the event of one of the above conditions. Specifically you should
- null reference check the datasource item
- check the template type of the datasource item (or check that the template inherits from a specific template)
- check that relevant fields are not null before attempting to do something with them (unless you are just using
@Html.Sitecore().Field("FieldName"))
Rendering - Definition Item
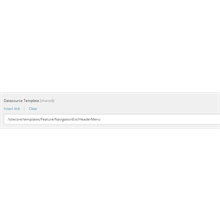
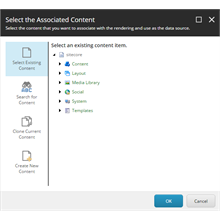
Ensure that the datasource template property is set, so users know if they have selected the correct type of item as the datasource. Note that you can specify a base template here as this mechanism checks that the selected datasource inherits from this template. This also enables the "Create New Component" button in the rendering datasource dialog because Sitecore knows what template to use.
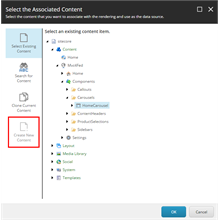
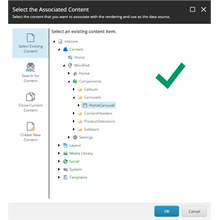
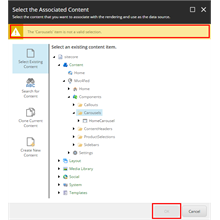
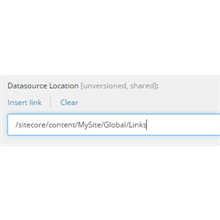
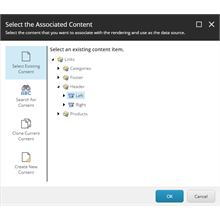
Set the datasource location property. This prevents users having to needlessly wade through the whole content tree to navigate to the correct item, it also helps to prevent them selecting the wrong type of item.
- Set the Thumbnail property of the component. This is displayed to the user when choosing the component in the experience editor.
- [Optional] Set the icon of the rendering to match the icon of the datasource template.
- Set a default placeholder if appropriate. This means that when adding your component to a page, if no placeholder value is specified this default will be used. This can be useful when components can only be placed into one specific placeholder.
- Set the compatible renderings field if the datasource for your item is used on different renderings.
Placeholder Settings
Update (or create) placeholder settings item(s), so your new rendering can be inserted in the experience editor. Set the “Allowed Controls” field to include your rendering.
Templates
- Ensure that appropriate icons are set if used for datasource items.
- If using Sitecore query, consider naming them using PascalCase to prevent having to escape template names. In this case set a user-friendly display name.
- Configure appropriate insert options where necessary.
- If your datasource consists of more than one item, use a branch template to create the basic structure.
- For any page templates, ensure that a suitable __Standard Values item has been created using tokens in fields where appropriate and pre-setting the presentation details to include all necessary components. Make sure to clear out the “Final renderings” field.
Testing
- Ensure it is possible to create from scratch any content items necessary via the experience editor.
- Check that your renderings do not throw an exception if the datasource is not set or has been incorrectly set.
Once your development is complete, you need to “eat your own dog food”. Test adding your rendering to a page via the experience editor
